Details
The Details view contains general information about the active employee and allows managing this information as well as creating and configuring a login.
Workspace
1 IDENTIFICATION
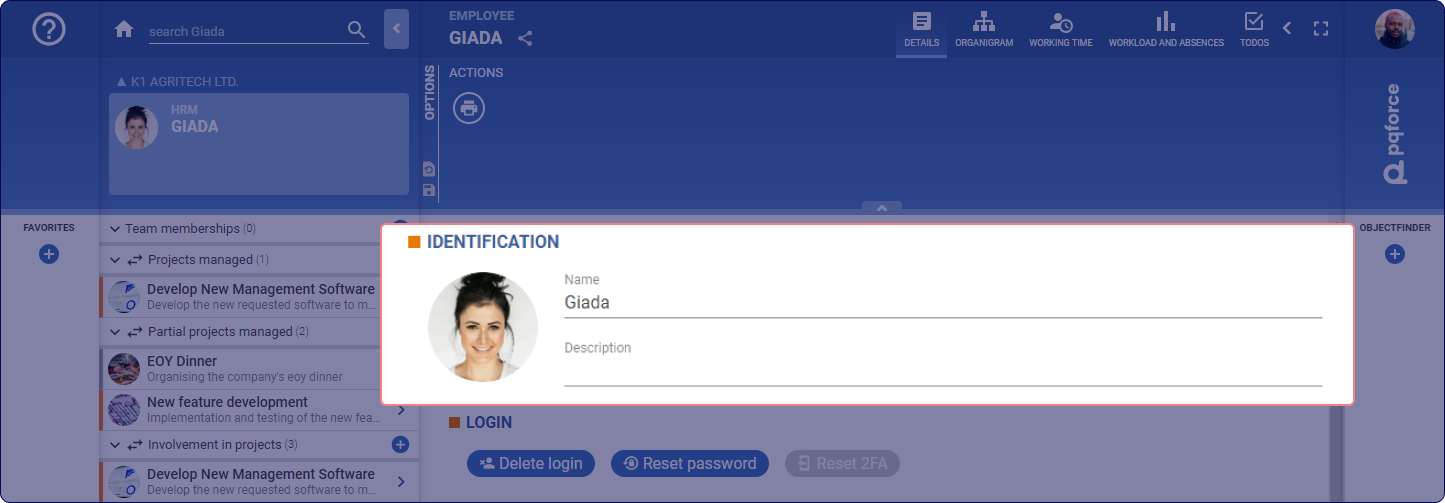
In this section, the identification characteristics of the active employee are entered.
-
Image: The image serves as a visual identifier of the employee. An image can simply be placed here via drag & drop. Alternatively, an image can also be copied and then pasted here by clicking on the circle and then pressing the key combination CTRL+V. To restore the default icon, the current image can be removed by dragging and dropping it into the Trash Bin
![]() .
-
Name: This is the name of the employee. It is used to distinguish the different employees.
-
Description: The description is a rich text field and can therefore be used to enter any detailed description for the employee.
 .
2 LOGIN
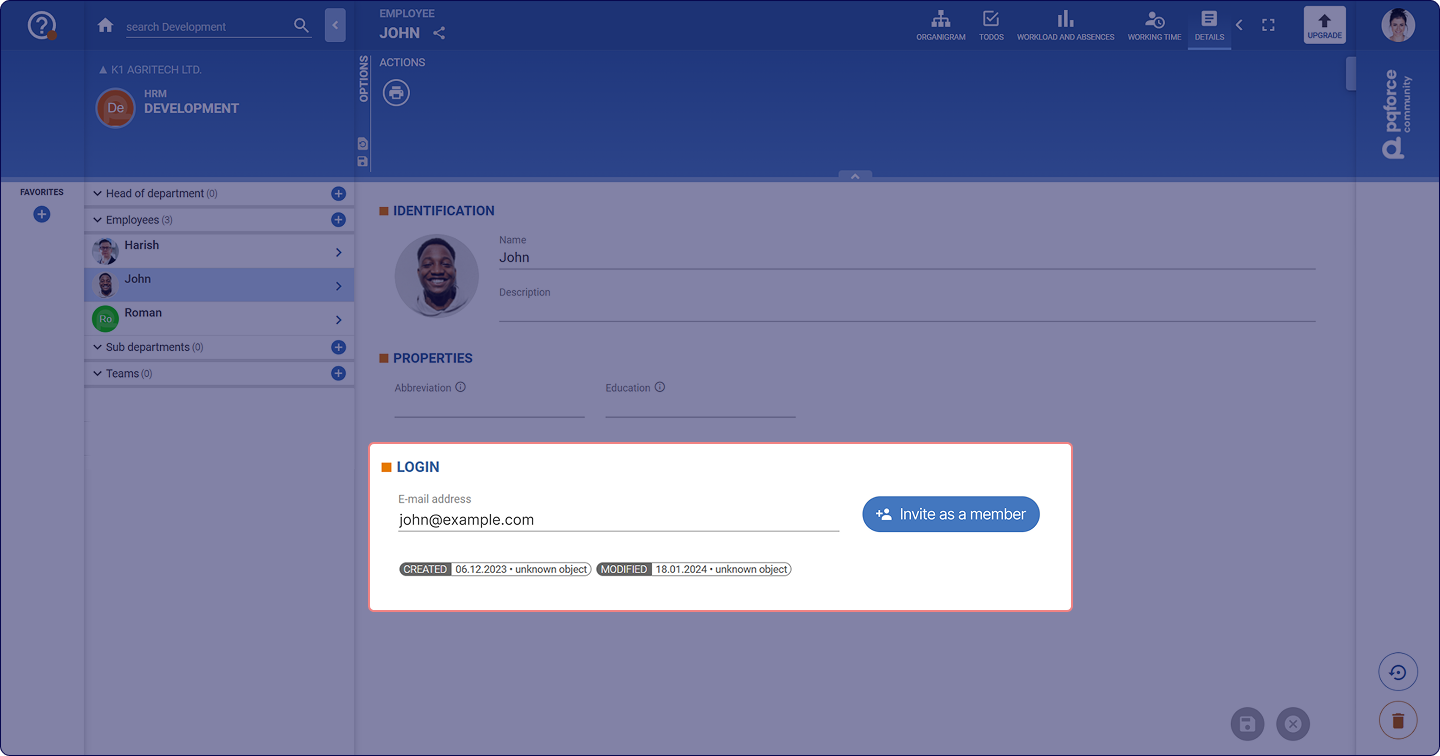
In this section the login properties of the active employee are configured. A login can be created for each employee, which links an email address to the employee. In case the login section is collapsed, it's possible to open it by clicking on the LOGIN label.
The functionalities and availability of this section may vary depending on your PQFORCE edition.
ROLES
In PQFORCE Smart there are two predefined roles:
Owner
The owner is the person who creates the tenant and acts as the system administrator. They have complete control over the system, including the ability to invite new members and remove existing ones.
Member
Members are users invited by the owner to access the tenant. They can view and modify all objects within the system but do not have the ability to invite others.
Owners and members automatically gain full access to all objects within the system based on their roles.
In editions higher than PQFORCE Smart, permissions are managed through two distinct mechanisms: user roles and relations. User roles are multiple and provide global permissions that apply consistently across all objects in the system. For example, a user assigned a specific role may have the same level of access to all projects, regardless of their involvement in individual projects.
In contrast, relations grant local permissions that are specific to particular objects. They are especially useful for assigning targeted access to particular areas or projects. For instance, a Project Management relation assigned to a project allows a user with Login global permissions to update that specific project but does not grant the same permissions for other projects unless explicitly assigned.
This approach ensures a clear distinction between broad system-wide permissions and object-specific access, enabling precise control over resource capabilities.
Options Area
The following section describes in detail which settings can be made in the Options Area.
ACTIONS
Actions can be performed here for the active view.
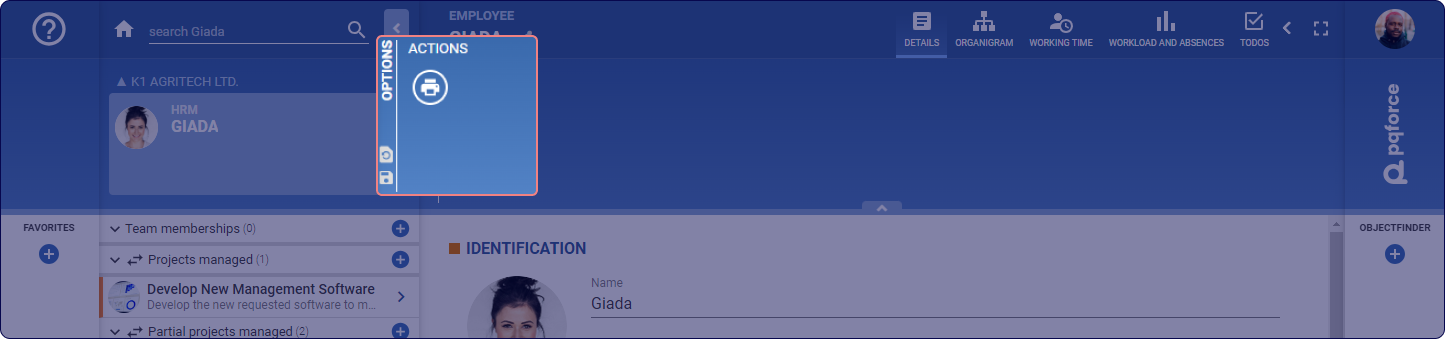
Print: Here you can print the workspace details.