Options Area
Within the Options Area, various settings can be configured to determine how and what kind of information is visualised in the workspace.
The functionalities of each specific option may be different, depending on both the type of the active object and the current view you are working with.
Saving and restoring settings
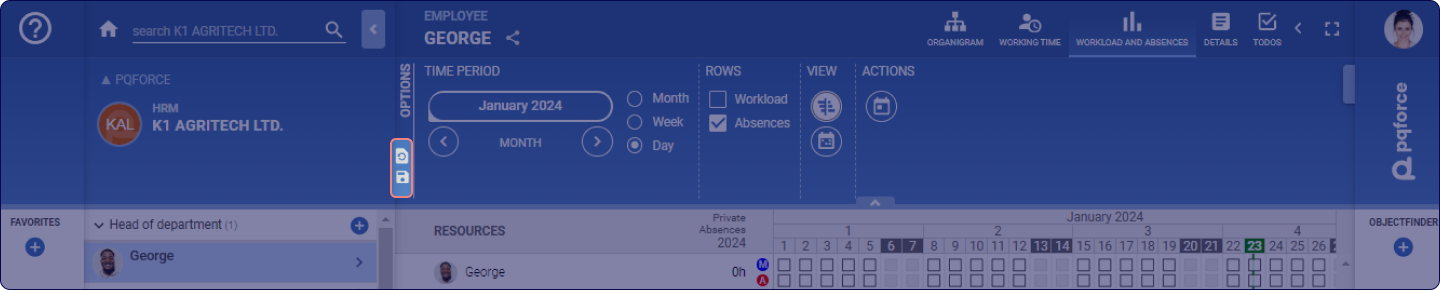
Currently setting changes can be saved as your personal default by clicking on the Save settings as default button. This default is personalised for each user.
Clicking the Load your default settings button above will restore the saved default settings.
General Options
Listed below are some general option elements that appear in different views in PQFORCE and consistently behave across the whole platform.
TIME PERIOD
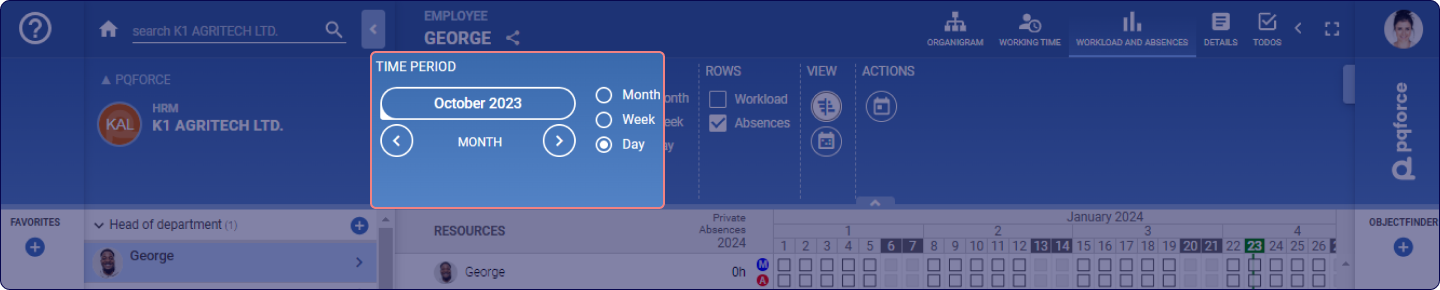
The time period option control defines which time period is relevant for the information displayed in the workspace. Clicking the button above opens a dialogue box where users can select the desired time unit and specify a specific time period.
Within the dialogue box, a user-defined time period can be entered at the bottom left. Upon making the selection, users can apply it to the workspace by clicking on Apply.
To navigate between different time periods, the left and right arrows can be used, depending on the currently set time unit.
It's important to note that the available time units for selection depend on the current view being accessed.
VIEW
This section accommodates adjustments that expand or modify the active view.

- Show Gantt: Opens a Gantt chart in the secondary workspace (splitscreen).
- Calendar: Opens a calendar of the current year in the secondary workspace (splitscreen), in which all absences and holidays of the active resource are entered.
ACTIONS

- Print: The information in the workspace can be printed.
- Export: The information from the workspace can be exported as a document.
- Go to today: centres the area displayed in the workspace on today's date.